
Take Apart - A Moen Shower Head
Updated May 28, 2017
 We moved from IL to CO in August and bought a 30 year old house. I've been spending my time going through the house fixing and debugging. One the my pet peeves has been the wimpy stream of water in the shower. The city water pressure out here is well over 150 psi so there's a pressure regulator in the house set at 70 psi. There's no excuse for a poor stream of water in the shower.
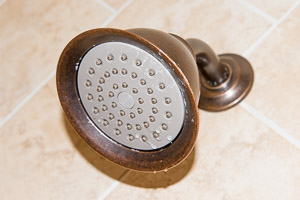
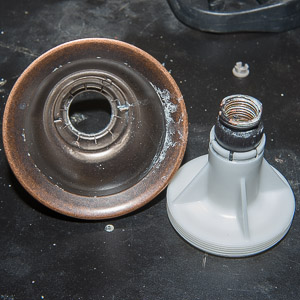
I decided that the shower head must be at fault and probably has some kind of restrictor. I pulled the head off and found it was a Moen Kingsley shower head and the part number is A112.18.1M. It also was imprinted with 2.5 GPM. Further research told me that it's a Moen Kingsley Positemp. I was able to find the parts list and manual for this model but nothing about a flow restrictor or disassembly of the shower head.
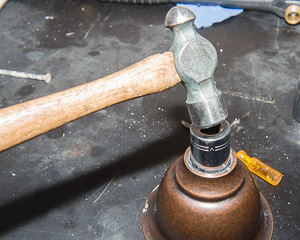
Before you go ahead and take the whole thing apart pull the O-ring out from the back. Skip ahead and you'll see some pictures. If you have a newer model it won't have the brass ball head and is all one piece so it won't come apart anyway.
I figured if someone put it together it must come apart. At first glance there's no obvious way to take this thing apart. Then I noticed that the little plastic trim cap in the center of the head pops out with a screwdriver exposing a Phillips screw.
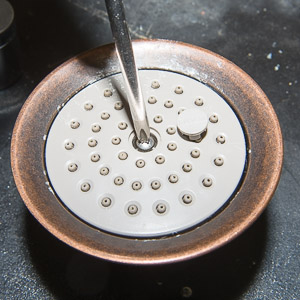
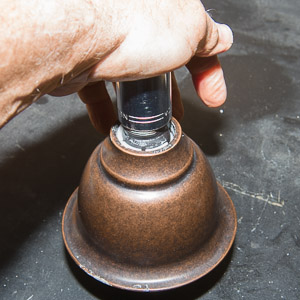
I was stuck for a minute but I decided to try to unscrew the plastic spray cap by holding the case and using my thumbs to rotate the cap counter clockwise. I got lucky and off it came right off.
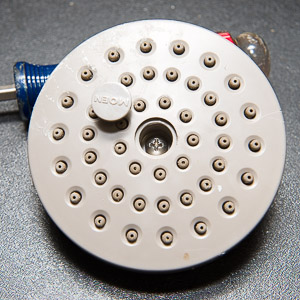


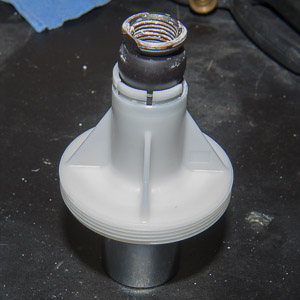
When the cap is removed it exposes the plastic part that I'll call the water distributor. In my case the distributor just popped out but you could use a socket to tap it down out of the case.
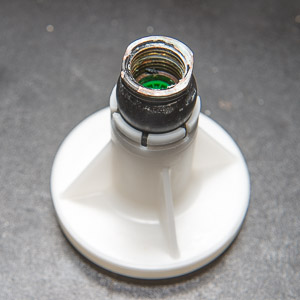
You'll notice that the distributor has a rubber coated brass ball swivel which is held in by a plastic collet that is spring loaded. At this point the brass swivel is just sitting on top of the distributor.
Below is the distributor showing the little green plastic part that looks like one of the parts from a faucet aerator. I'm guessing it acts like a primary water flow distributor and a flow restrictor. You can simply push this out the bottom of the ball swivel with a little screwdriver.

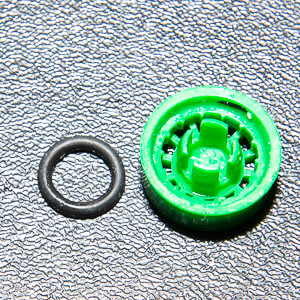
I pried the 'O' ring out from the green restrictor with a pointed dental tool. I'm not sure if the shower head will be fine without the complete green part so I opted to just remove the 'O' ring which looked to me that it blocked a good amount of the surface area of the incoming water.
Now to put the whole thing back together. First put the green restrictor back into the ball swivel. Simply stick it down in and push it till it seats.
We now have to get the distributor with the spring loaded ball valve back into the case. This part is tricky. You have to insert the ball swivel into the white water distributor and push it down against the spring so it's low enough to let the plastic collet tabs retract enough to allow them to push up into the case.
I put a large socket under the distributor. I placed the ball swivel on the top of the distributor just sitting on the plastic collet. I then placed the case over the distributor. Then I took a long socket that is just the diameter of the inside of the hole in the case and placed it on the ball swivel through the case hole. I pushed down on the socket which pushed the ball swivel down into the distributor against the spring. Once the ball was down far enough the plastic collet can bend enough to fit up into the case. Now just push the case down and the the distributor and ball swivel will rise up into the hole in the case and snap in.
Now screw the plastic spray cap back on to the distributor. Make sure you get it on all the way or the shower won't spray right. Put the Phillips screw back in the center and snap the little plastic trim cap in place and you're done.
